null
Skip to main content

DIY 4th of July Epoxy Resin Coasters

Jun 30th 2022

Create An American Flag Themed Coaster Set!

In this week’s tutorial, we will be creating a set of patriotic, puzzle coasters with epoxy resin! Separately, these coasters are beautiful on their own, but once they are arranged together, they form a gorgeous image! This Fourth of July coaster set it perfect for your upcoming celebrations or to be used throughout the year. Without further ado, let’s get started!


Epoxy Systems Used:


Table Top Pro Epoxy for epoxy resin table
Sold out

Sold out

Sold out

Check Out The Video Tutorial!


Materials Used:


Let's Get Making!

Step 1: Priming and Masking  

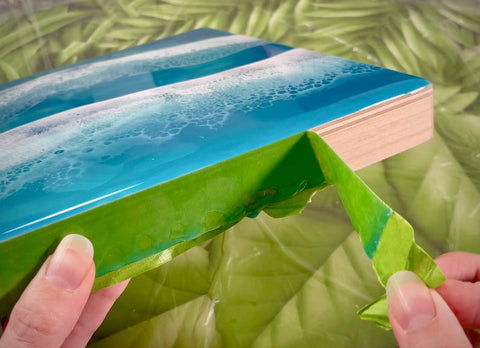
Before we begin the fun part of this project, let’s first prep our pieces! Apply painter’s tape to the bottom of the MDF sculpted panel coasters. Once masked, I like to prime the coasters with white gesso and then add the desired acrylic paint colors (in this case, white to 5 of the coasters and blue to 1). After the paint dries, apply more tape to the sides of the coaster, creating a dam for the epoxy to pool in.


Step 2: Adding Epoxy Resin

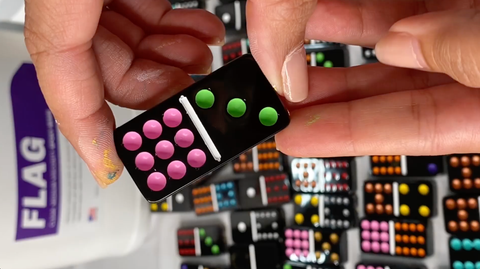
For the first epoxy layer, I wanted to use a system with a quicker working time so that I could complete more steps in a single day. I chose MAS FLAG resin and Medium hardener! This is a versatile 2:1 system that is perfect for casting resin up to a 1/2” and it has a lower viscosity with excellent bubble release! The working time for this system is 20 minutes at 70˚F and can be recoated once every 2 hours. Projects can be demolded 24 hours after pouring or sometimes sooner depending on your studio or workshop conditions.

After mixing part A and B, separate the mixed epoxy into two cups. The cup with the most epoxy will be colored with red pigment, while the cup with less epoxy will receive the blue mica powder. Pour the red pigmented epoxy onto 5 of the coasters (pour as much or as little as you’d like, but make sure that you can still see the white peaks poking through). Now, do the same with the remaining coaster but use the blue pigmented epoxy. Lightly torch the epoxy and let it cure for 2 hours.


Once cured, mix up another batch of MAS Epoxies’ FLAG resin and Medium hardener and leave it clear. Pour the mixed epoxy onto all the coasters until the epoxy covers the peaks (they should now be completely leveled with epoxy). Let this layer cure for 24 hours.


Step 3: Sanding Between Layers

Once the epoxy is fully cured, peel off the painter’s tape located around the sides of the coasters. With a palm sander, sand the top and sides of the coasters until they are nice and smooth. Clean off the epoxy dust with a clean rag and rubbing alcohol before continuing.


Step 4: Placing Vinyl Stars

Before creating your vinyl stars, map out how many stars you want on your coaster and how big or small they will be. For my coaster, I chose to use 10 full sized stars with 4 partial stars on the edges. Remember to cut off any access vinyl before moving on.


Pro Tip: If you don’t have a vinyl cutting machine or wanted to paint them by hand, print the stars on to computer paper and trace them onto tissue paper. Lay the tissue paper image onto your piece and trace over the lines with a sharpie. The sharpie will transfer through the tissue paper and onto your piece so you can fill in the design with acrylic paint.


Step 5: Top Coating with Epoxy Resin

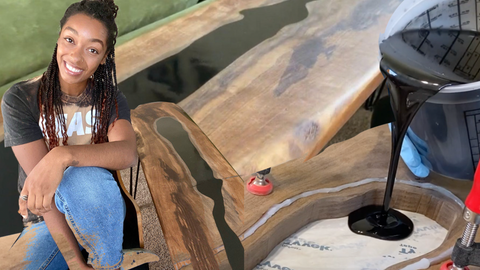
To seal in the stars and to add a beautiful, protective shine to the coasters, I chose to pour a layer of MAS Epoxies’ Table Top Pro onto the coasters. This two-part (1:1 mix ratio) epoxy is an easy-to-use table top finish that is a maker’s dream medium! It’s compatible with color pigments, alcohol ink, acrylic paints, and more! This system has a 30-minute working time and can be recoated in about 2-4 hours after your pour. Once this layer of epoxy has completely cured, you can remove the remaining painter’s tape from the bottom of the coasters.


Step 6: Finishing Touches

To finish off this coaster set, flip the coasters over and sand any rough edges off the back of the pieces. At this time, you can also add coaster feet and sign your work of art!


After following these 6 easy steps, you will be left with a functional, interactive, and fun piece of art! If you felt inspired by this tutorial to create a piece of your own, please post and tag @masepoxies on Instagram for a chance to be featured! We love seeing you explore new ways to resin! Stay creative and happy crafting!

Thank you for following along on this patriotic adventure!