MAS Blog

Mod Podge vs Epoxy Resin
Can you put epoxy over Mod Podge? Yes, we recommend it! In this project we poured epoxy resin over Mod Podge because it helped to seal the [...]
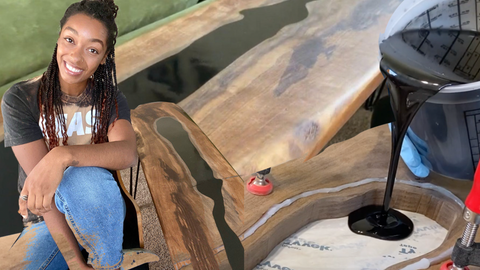
Only Four Tools Needed To Create This Epoxy River Console Table!
Have you ever wanted to build an epoxy river table but stopped because you needed all the [...]

Let's Get Creative with Soap!
Let’s get messy with this soap, spray paint and epoxy craft! Have you ever seen a DIY tutorial that looked so fun that you immediately went out [...]
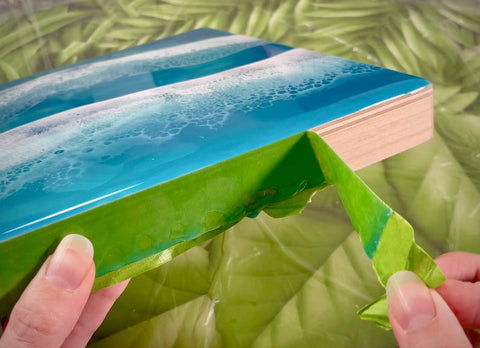
How to Tape Your Edges
Have you ever wondered how to create a perfectly clean edge on your epoxy resin project? Are you tired of spending hours sanding away all the resin [...]

What is the truth about epoxy resin heat ratings? Tabletop epoxy ‘Heat Resistance’? What does...
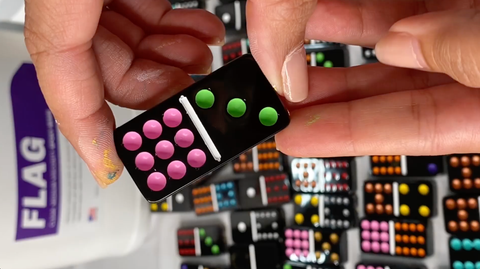
Learn How to Cast the Perfect 2-Layer Dominoes
Have you ever wondered, “Why am I getting holes in the corners of my dominoes?” Are you having trouble removing bubbles from [...]