null
Skip to main content
DIY Wakesurf Board

DIY Wakesurf Board

Posted by sarah@brodsolutions.com BigCommerce on Jul 12th 2020

Build your own Wakesurf Board out of foam, fiberglass, and epoxy!

Learn how to complete the process from start to finish along and see what materials you will need for this fun project!

Check out the video


Materials Used
  • Foam
  • Low Viscosity Epoxy Resin
  • Non-Blushing Slow Hardener
  • Orbital Sander
  • 6oz. Fiberglass
  • Table Top Pro Epoxy
  • Mica Pigments
  • Bristol Finish UV Clear
  • Spray Gun
  • Mixing Cups
  • Stir Sticks
Shaping your Board

Trace out your board design and cut it to shape. Once you have your board cut, sand down all surfaces and round over edges preparing the foam for epoxy and fiberglass.

Glassing your board

Once the board is shaped and sanded. Cut out 6 oz fiberglass to the shape of the board. Lay it flat and measure 2:1 epoxy using LV Resin and Slow Hardener. Mix epoxy thoroughly and pour onto the fiberglass. Using a a plastic spreader or squeegee, spread epoxy over the fiberglass wetting it out. Be sure to get all air pockets out underneath the fiberglass. You will need to repeat this step on both sides two more times while sanding between coats. This will create a waterproof and structural coating to the board.

Customizing Board

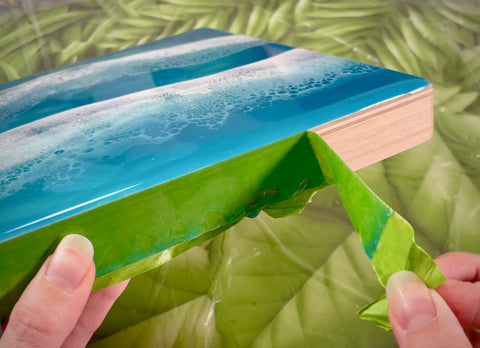
After the board has been coated with epoxy and fiberglass, you can customize your board in multiple ways either by painting or more epoxy work. We decided to give paint the bottom and edges with spray paint and coated the top side with epoxy creating a faux marble effect. This was achieved by using 1:1 Table Top Epoxy with some pigment powders.

Faux Marble Effect

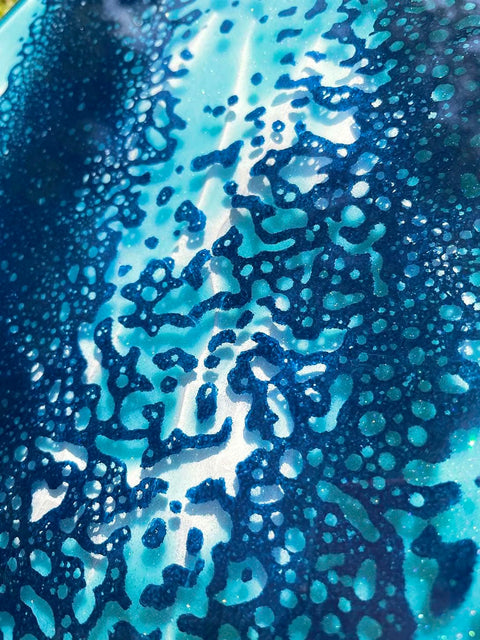
Mix Table Top Pro and add white pigment for base coat. Pour epoxy onto the board and apply heat to eliminate air bubbles. You will need to set aside two cups of epoxy with different colors. We chose midnight blue and battleship grey. Once the white base coat has sat for around 10 minutes, pour grey epoxy onto surface using a popsicle stick to create lines of color. Using a heat gun to move the lines of color around and spread them out. Next, add blue pigment with the same method moving the epoxy around with the heat gun. Once the lines of color have been blended, spray some denatured alcohol onto the epoxy which will create a marbleized look to the epoxy.

Applying Varnish

The board has been painted and customized now the final step is to protect the epoxy coating by applying Bristol Finish UV Clear varnish. This system will protect the epoxy from yellowing in direct sunlight so the white faux marble will stay white overtime. We sprayed the board with our Fuji Semi Pro 2 spray gun. Bristol Finish is a 8:1 mix ratio and can be applied by brush or spraying. In order to spray the urethane varnish we thin out the urethane and catalyst by 20-30% using Bristol Finish Thinner but can be thinned out with acetone. Final mix ratio is 8:1:1 urethane, catalyst and thinner.

Finished Project

After you’ve applied the UV protectant allow to cure for a week and then you’re ready to surf!