
The Easiest Way to Measure Epoxy by Volume
Using MAS Epoxies Pre-marked Cups to Measure and Mix
We want to save you time and using pre-marked mixing cups is the easiest way to measure your resin. Not only that, measuring and mixing epoxy properly is the best way to ensure your project will be a thing of beauty and not a gummy mess. Right now with COVID-19 changing supply channels and the way we work we wanted to share alternate ways to measure your epoxy in case your primary method – like calibrated pumps – is not currently available.
The Benefits of Pre-Marked Cups
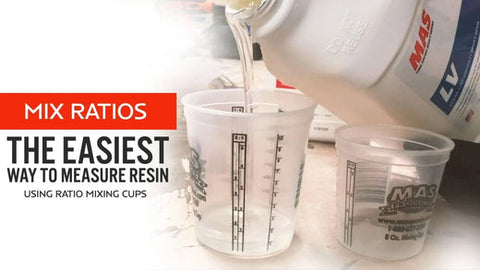
The cups MAS Epoxies offers give you a guide on how to measure every mix ratio we offer right on the side of the cup. From 1:1 for Table Top Pro and Art Pro to 8:1 for Bristol Finish products we’ve got you covered. There are some real benefits to this.
- You can measure both parts in 1 cup which saves time and money on cups
- You can buy one cup and use it with a variety of MAS Products – no special equipment needed
- A variety of sizes work for small to medium projects
With these benefits in mind let’s move on to how to use the cups themselves.
How to Use MAS Pre-Marked Cups
Follow these steps to measure and mix in the same cup.
- Confirm the mix ratio of your product – not all MAS Products have the same mix ratio, the bottles or our website will tell you the mix ratio by volume
- Find the set of markings that match your mix ratio on the cup
- Estimate the total amount of material you’ll need and keep it in mind
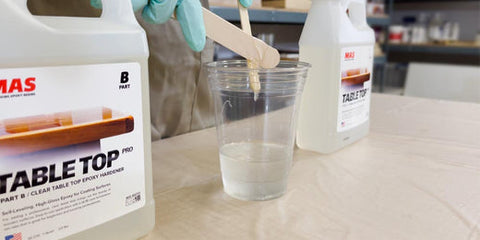
- Part A should be poured first and will correspond with the left side of the divided markings
- Part B will be poured second and correspond with the right side of the divided markings
- Using the estimate of the total material you’ll need find the right side number that matches the closest – example would be marker 4
- Pour Part A to the number marker you have chosen on the left side, in this example – marker 4
- Pour Part B to the number marker you have chosen on the right hand side, in this example – marker 4
- Mix thoroughly!
These instructions will be helpful when looking at the cup. If you don’t have a cup in front of you or want more details, watch our video on how to use these which should help clarify any further questions!

Comments (1)
How can I order this cup? I dont see any links to click on.