null
Skip to main content

Epoxy Easter Sign with Cassidy Eck

Apr 26th 2022

Easter Epoxy & Alcohol Ink Cutout Tutorial


Are you a multi-media artist/woodworker that wants to create an eye-catching and UNIQUE sign? This technique is PERFECT for any sign maker that wants to take their signs to the next level. Cassidy from Stonemill has been dying to teach her fellow artist this technique, and we are so excited to help spread the word!


Here's A Little More About Cassidy!


Cassidy is a full-time woodworker and resin artist. After working in healthcare for almost six years, Cassidy decided to take the leap and live out her dream of being a full-time Artist and Mom. Cassidy has run her business for over four years and loves teaching fellow artists using all of the knowledge she has obtained and the mistakes she has made along the way.


Use Code: STONEMILL for 10% Off + Free Shipping!


Table Top Pro Epoxy for epoxy resin table
Sold out

Art Pro Epoxy
Sold out

Check Out Cassidy's Full Video Tutorial!


Let's Make Some Bunnies!


Step 1: Prepping and preparing your board

For this project, we are starting on a 1/8" piece of MDF. You will want a pretty smooth surface for your alcohol and alcohol inks to glide over top of. Here, I have prepped the MDF with basic craft paint from Michaels. You can also add an extra layer of Table Top Pro to your board *before* you add your inks, but the look is still achievable without an Epoxy base.


Step 2: Adding your Inks

This is the fun part! Before you start, remember this- in the end, this backer will be cut into multiple pieces. The board is not* a finished piece, so don’t get hung up on the piece as a whole. Instead, Cassidy encourages you to be as random and as colorful as you can.

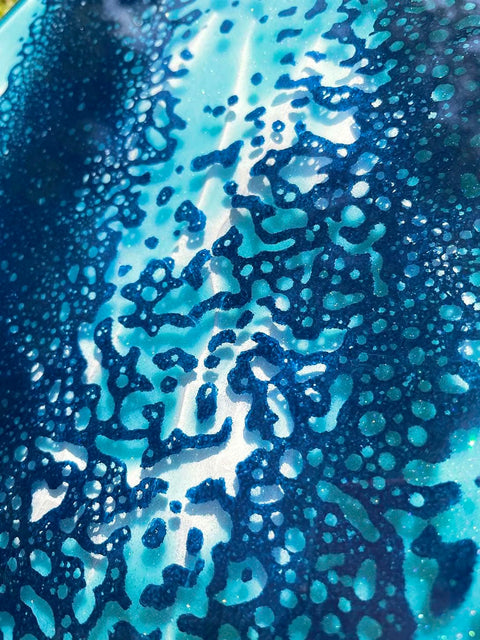
For this piece, we are using isopropyl alcohol and Piñata alcohol inks. We will first lay down the alcohol, followed by the inks. Using your heat gun, move the colors across the board to get your desired look. If your inks turn out too opaque, add more alcohol. You can increase the temperature on your heat gun, but it is not necessary. This step is fun, so enjoy it!

Step 3: Adding Table Top Pro

After your inks have had about 24 hours to dry, you can add your resin. This really takes the alcohol inks to a new level, giving it the prettiest shine! Table Top is a 1:1 system. This just means that you mix equal parts. Not sure how much (total) resin to mix? The Mas Epoxies website has a great calculator that helps you break down exactly how much resin you need to cover your piece. Enter in your project dimensions, and it will calculate exactly how many ounces to mix, as well as how much of each part to add.

Be sure to mix your resin thoroughly and constantly scrape the sides of the mixing cup. This ensures that you are mixing any Part A or Part B that is stuck on the sides. Mix slowly, until your resin is clear of any string-like striations, and pour onto your alcohol inks. Gently spread your resin over the entire piece with your hands and pop any bubbles with a heat gun or torch. Let your resin cure for 24 hours. (Table Top Pro has a cure time of 8 hours, but since we will be handling and cutting this piece, Cassidy suggests waiting a full 24 hours.)

Cassidy's Pro Tip: Is your piece going to get daily sunlight? Alcohol inks tend to fade in the sun. If you’d like added protection, I suggest using Mas Epoxies Art Pro, which adds UV protection to prevent fading and yellowing.


Step 4: Cutting your shapes

For this Easter piece, we are cutting bunny silhouettes, but feel free to get creative and use this technique for any letter or shape cut-outs!
Until recently, Cassidy cut out her shapes on the scroll saw. In this video, Cassidy shows us how she was able to perfectly cut out her shapes using her laser. After all the bunnies are cut out, you can clean the resin with a polishing compound or window cleaner.

In this step, we also are cutting out the text for the sign. Cassidy chose to use 1/8" acrylic for her lettering.


Laser Information: Cassidy is using a Laguna MX Laser, and using her regular cut settings that are set to cut 1/4 inch birch.
Caution: Cutting Resin on the laser will give off toxic fumes. Ensure there is excellent ventilation, and we also suggest wearing a respirator to protect yourself from any fumes.


Step 5: Scoring a Template on your backer

Glue up templates- every sign makers dream! For the backer, Cassidy chose a blank wooden canvas. In this step, we will be using a very light “cut” setting that lightly scores your backer so you know exactly where each piece gets glued on. This ensures that everything is lined up perfectly (as long as it is positioned perfectly in your laser software.)

Using the “offset” button, set an “inner” offset so your scoring marks aren’t visible once you glue your shapes down. Cassidy sets her inner offset distance to .04 in Light Burn.


Step 6: Glue-up

For the MDF-backed bunnies, you can use any basic super glue. Be sure to go light on the glue, to avoid any excess squeeze out.

If you also chose to use acrylic for your text, Cassidy suggests using a double-sided adhesive from 3M. Place this on the back of the acrylic before cutting.

Step 7: Enjoy your masterpiece!!

We hope you loved this tutorial from Cassidy, and we hope it inspires you! Whether you use Cassidy’s Easter bunny template or a template of your own, we can’t wait to see what you create!

As always, if any questions arise during your project, Cassidy encourages you to reach out to her on her website or social channels. Happy making!!