The Easiest Way to Measure Epoxy by Volume
Using MAS Epoxies Pre-marked Cups to Measure and Mix
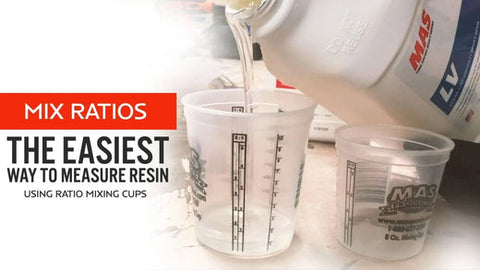
We want to save you time and using pre-marked mixing cups is the easiest way to measure your resin. Not only that, measuring and mixing epoxy properly is the best way to ensure your project will be a thing of beauty and not a gummy mess. Right now with COVID-19 changing supply channels and the way we work we wanted to share alternate ways to measure your epoxy in case your primary method – like calibrated pumps – is not currently available.
The Benefits of Pre-Marked Cups
The cups MAS Epoxies offers give you a guide on how to measure every mix ratio we offer right on the side of the cup. From 1:1 for Table Top Pro and Art Pro to 8:1 for Bristol Finish products we’ve got you covered. There are some real benefits to this.
- You can measure both parts in 1 cup which saves time and money on cups
- You can buy one cup and use it with a variety of MAS Products – no special equipment needed
- A variety of sizes work for small to medium projects
With these benefits in mind let’s move on to how to use the cups themselves.
How to Use MAS Pre-Marked Cups
Follow these steps to measure and mix in the same cup.
- Confirm the mix ratio of your product – not all MAS Products have the same mix ratio, the bottles or our website will tell you the mix ratio by volume
- Find the set of markings that match your mix ratio on the cup
- Estimate the total amount of material you’ll need and keep it in mind
- Part A should be poured first and will correspond with the left side of the divided markings
- Part B will be poured second and correspond with the right side of the divided markings
- Using the estimate of the total material you’ll need find the right side number that matches the closest – example would be marker 4
- Pour Part A to the number marker you have chosen on the left side, in this example – marker 4
- Pour Part B to the number marker you have chosen on the right hand side, in this example – marker 4
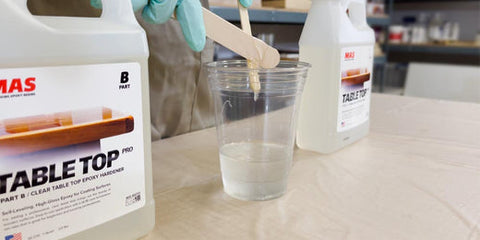
- Mix thoroughly!
These instructions will be helpful when looking at the cup. If you don’t have a cup in front of you or want more details, watch our video on how to use these which should help clarify any further questions!


Comments (0)
There are no comments for this article. Be the first one to leave a message!