
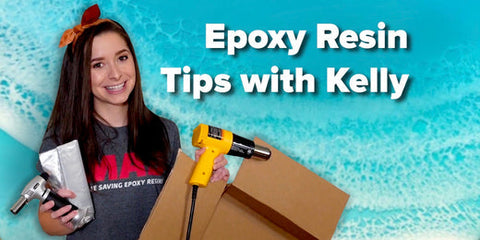
Kelly's Top 3 Tips for Getting Started with Resin
Hey there, Kelly here! Do you want to get started with epoxy resin, but don't know where to begin? In this blog post, I'll give you a few tips to help you feel a bit more comfortable jumping into your epoxy resin journey.
For more tips, check out our Epoxy Basics blog post!
Materials Used:
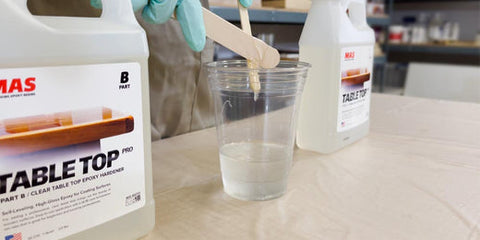
- Table Top Pro (or other MAS Epoxies system)
- Plastic sheeting
- Cardboard box
- Heat gun
- Torch
Let's Get Started!
1. Prepare a clean workspace
Before you start pouring, prepare a clean workspace. I like to cover my table with a plastic sheeting to catch any drips or spills that might happen during the creating process. Depending on the type of plastic you have, the cured epoxy can actually peel right off, so you can reuse the plastic multiple times.
2. Dust is your enemy
After you have poured your epoxy, cover your work with a clean covering of some sort. I like to use a simple cardboard box to protect my piece while it's curing. This will keep all of the dust, hair, and bugs off of your work in progress!
3. Get the right tools
It's important to have both a heat gun and a torch in your epoxy resin tool box. The heat gun is great for moving and blending the epoxy, while I prefer the torch to pop those pesky bubbles. Also, if you're planning on doing any resin lacing or making ocean waves with your epoxy resin, these two tools are crucial for achieving the perfect lacing effect.

Comments (0)
There are no comments for this article. Be the first one to leave a message!