How to Open and Use Our White Resin Pigment!
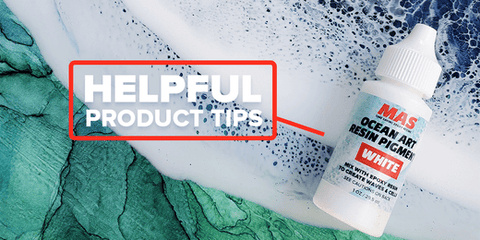
Are you struggling to squeeze out the white pigment from your new Ocean Art Resin Pigment bottle? If so, we are here to help! Our pigment bottles ship with a protective seal within the precision tip. Before the first use, you will need to puncture the seal to easily squeeze out the pigment. We promise, it’s worth it! This opaque white colorant was specifically formulated to create crisp resin cells with minimal effort! It pairs perfectly with Art Pro and Table Top Pro for stunning resin lacing.
Check Out This Quick Tutorial!
It’s Time To Make Some Waves!
But first...we need to open the bottle!
Step 1:
Twist and remove white cap.
Step 2:
Bend and straighten one side of a paperclip.
Step 3:
Insert the paperclip into the precision tip and press firmly until the protective seal is punctured.
Step 4:
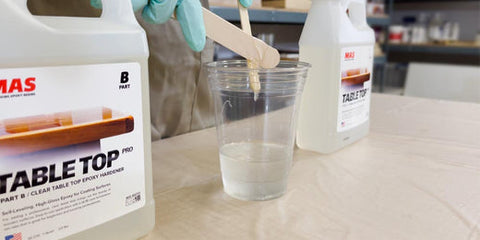
Tilt the bottle upside down and squeeze out the desired amount of pigment into your mixing cup of MAS Epoxies’ Table Top Pro or Art Pro epoxy resin. Mix the pigment and epoxy thoroughly.
(Use no more than 5% pigment to the total volume of epoxy mixed.)
Step 5:
Pour your white pigmented epoxy where you want the wave and gently start to blow out the pigment with your heat gun. Use slow, gentle motions with your heat gun and do not hold the heat in one place for very long. Once you have blown the wave out to the desired distance, grab your torch and sweep the heat across the waves to bring out the cells and lacing pattern. Let this layer cure before continuing.
Step 6:
To add depth to your DIY ocean inspired resin art, repeat steps 4-5 until you are satisfied with the overall look.
To Learn More About Resin Ocean Art
Check out these helpful blog post tutorials!


Comments (0)
There are no comments for this article. Be the first one to leave a message!